

Tutorial: Customize your public pages
Build a multi-page tenant site like the full demo scenario—using slug yourteam—covering content, navigation, intake forms, review, publish, and preview.
This tutorial mirrors a rich public-site demo (several themed pages, each with its own hero and optional lead form), but you will work in a workspace whose slug is yourteam. Do not confuse the slug with a product name; it is only the URL segment for your team.
What you will set up
- A tenant public site with multiple pages (for example Home, Personal banking, Business banking, …).
- Hero text, CTA labels/links, and optional HTML blocks for each page.
- Top navigation that lists the pages you want visitors to see.
- Public intake forms embedded on pages (keys, required fields, success copy).
- A draft → review → publish cycle so visitors only see approved content.
- Preview that matches what anonymous visitors see.
Before you start
- Open your team workspace:
/home/yourteam(use your real slug everywhere below). - Confirm you can access Admin → Public Site:
/home/yourteam/admin/public-site. - You need
public_site.manage(or be the primary owner) to edit drafts and forms. Review and publish may require additional roles (public_site.review,public_site.publish).
Step 1 — Open Public Site admin
Go to /home/yourteam/admin/public-site. If no site exists yet, create a draft site and set:
- Subdomain (for local testing, patterns like
yourteam.localhostare common when your environment maps tenant hosts). - Branding defaults (logo, colors, typography) if your deployment exposes those controls—align them with your marketing guidelines.
Save early and often; each save typically creates a new revision in draft status.
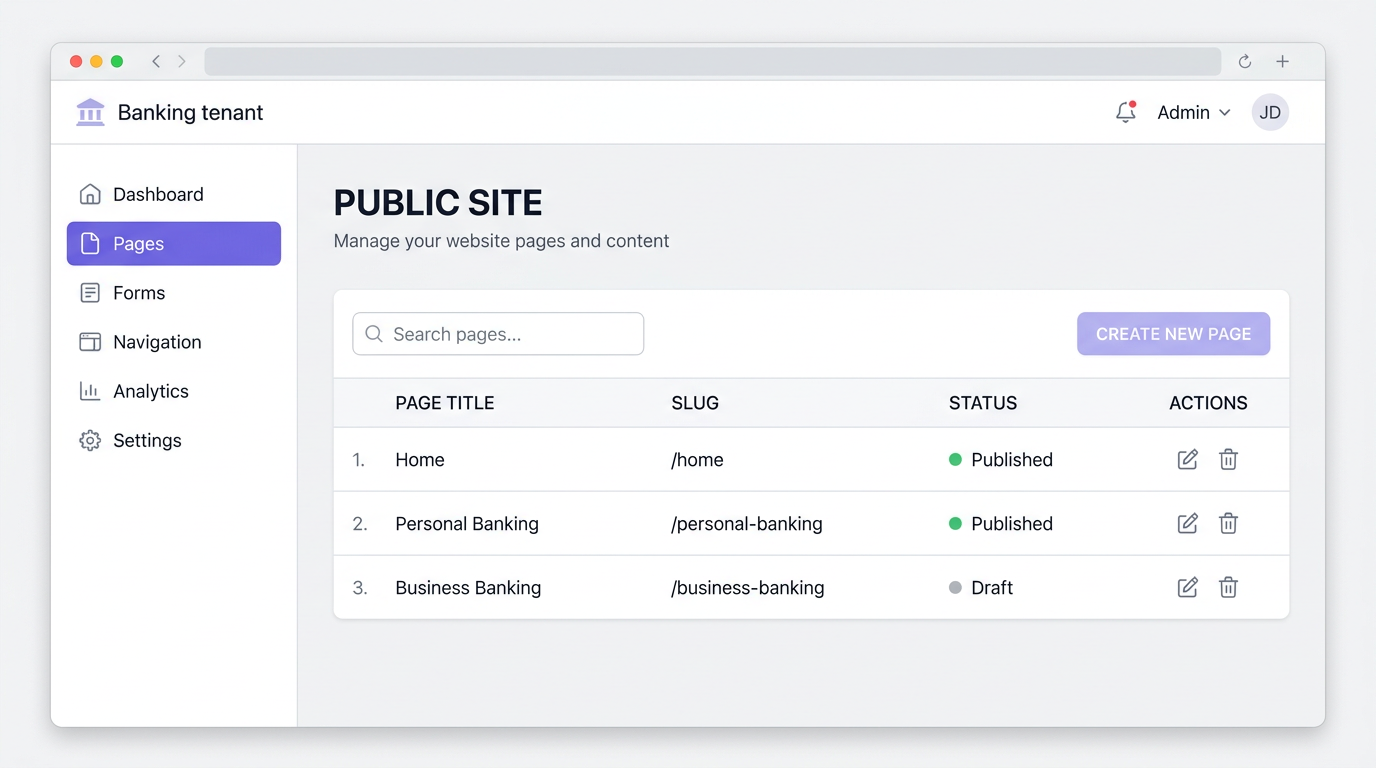
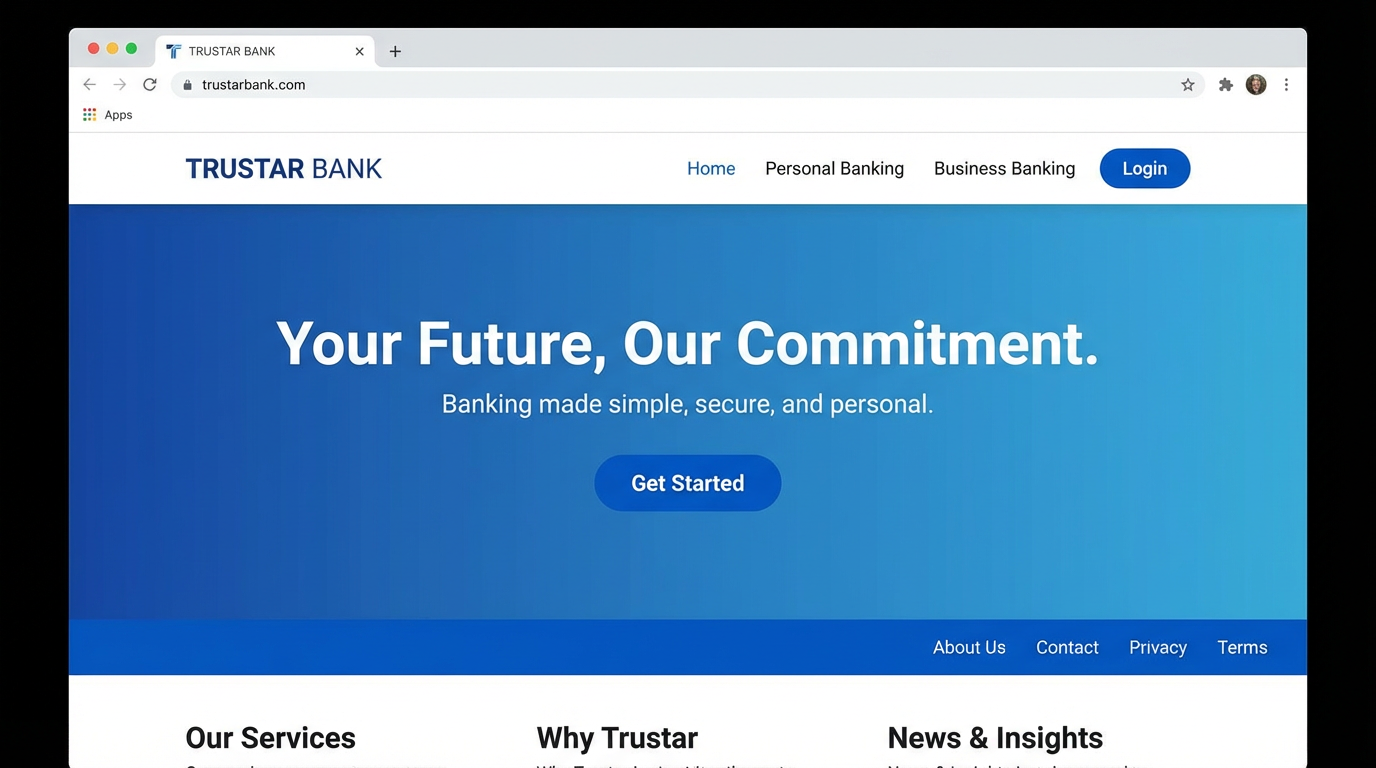
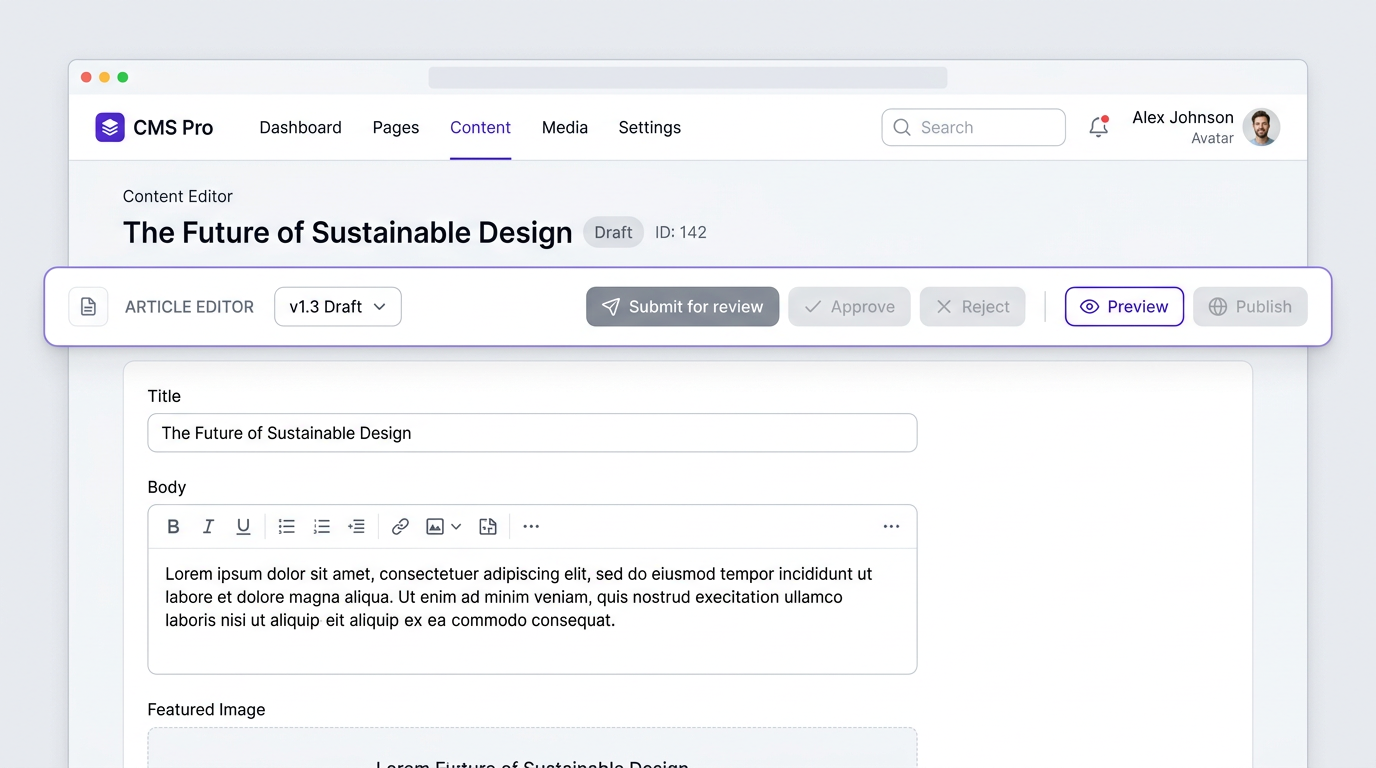
Reference screenshots (team2-demo)
The illustrations below follow the seeded multi-page banking-style demo account (slug team-2-demo, often reached at http://team2-demo.localhost:3000/ when local middleware maps tenant hosts). In the written steps we still use yourteam as the slug you type in URLs—replace it with your real workspace slug (or use team-2-demo when exploring that seed).
Step 2 — Add pages (multi-page scenario)
In the page editor, add one row per visitor-facing page. For each page configure at least:
- Slug — URL segment after the site root (for example
personal-banking, or empty string""for the home page—follow the UI conventions in your build). - Title — Human-readable page title.
- Hero headline and hero subheadline — Above-the-fold messaging.
- CTA label and CTA href — Often pointed at team sign-in (
/auth/team-login?team=yourteam) or a contact section. - Body HTML (if offered) — Extra sections, feature grids, disclosures.
Repeat until you have a small site tree comparable to a multi-product landing experience (the seeded demo uses nine pages; you can start with three and grow).
Step 3 — Navigation
Use the navigation controls to define which pages appear in the top nav and in preset sibling/child menus (if your template shows them). Pages can be hidden from automatic nav but still reachable by direct URL—useful for campaign landings.
Step 4 — Attach public intake forms to pages
Still under Public Site admin, define forms that visitors can submit:
- Form key — Stable identifier (lowercase), used in URLs and APIs.
- Display name — Shown near the form.
- Required fields and allowed fields — Typically include combinations of
name,email,phone,reason, etc. - Schema type / version — Identifies the paired data entity and internal form schema the platform keeps in sync for workflows (defaults are generated if you leave them blank).
Embed each form on one or more pages using the page’s form keys / forms configuration so the renderer knows which block to show.
Saving the form triggers internal artifacts: an internal public-site-{key} form schema and matching data entity row (your team can see them later under Forms and Data entities).
Step 5 — Submit for review and publish
- When the draft looks ready, use Submit for review on the revision. Status moves toward
pending_review(exact labels depend on your build). - A user with
public_site.reviewapproves or rejects the revision. - A user with
public_site.publishpublishes an approved revision. Older live revisions are marked superseded.
Until publish completes, anonymous visitors keep seeing the last published revision.
Step 6 — Preview and live check
- Preview (outside the authenticated shell): open
/public-site-preview/yourteamand nested paths such as/public-site-preview/yourteam/personal-banking. Preview prefers the newest draft / pending / approved-unpublished content when present. - Live tenant host: open your configured subdomain or custom domain and walk every page and form.
Step 7 — Leads
Submissions land in Admin → Public Site Leads at /home/yourteam/admin/public-site/leads for staff with the appropriate leads permission. Export or triage according to your process.
Next steps
- Scaffold an intake workflow from a public form: Edit a public-site intake workflow.
- Model structured data explicitly: Define data entities and Define data forms.